|
1. Move the Wattle into position
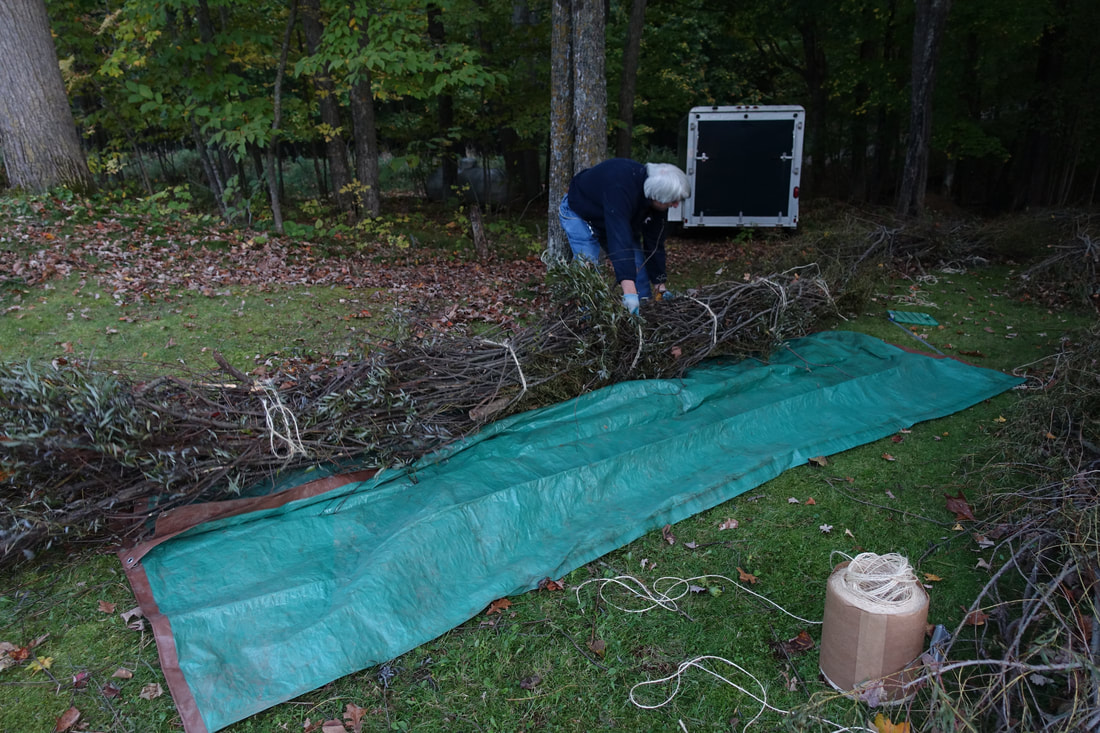
Our driveway is on top of a hill from our shore.We decided to make the logs on the top of the hill and carry the logs down instead of transporting the willow to the shoreline and making the logs at the shore.Your landscape will dictate the best course for your project.
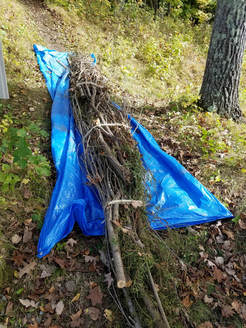
Since there was only 2 of us, we rolled the log onto a tarp and dragged the tarp to the water.By far this was the most physical for me. Once the log was at the shore, it was easy.Get it in the water and float it to the desired location.If you are merging into other logs, push them together to form a more solid continuous line. 2. Staking it down
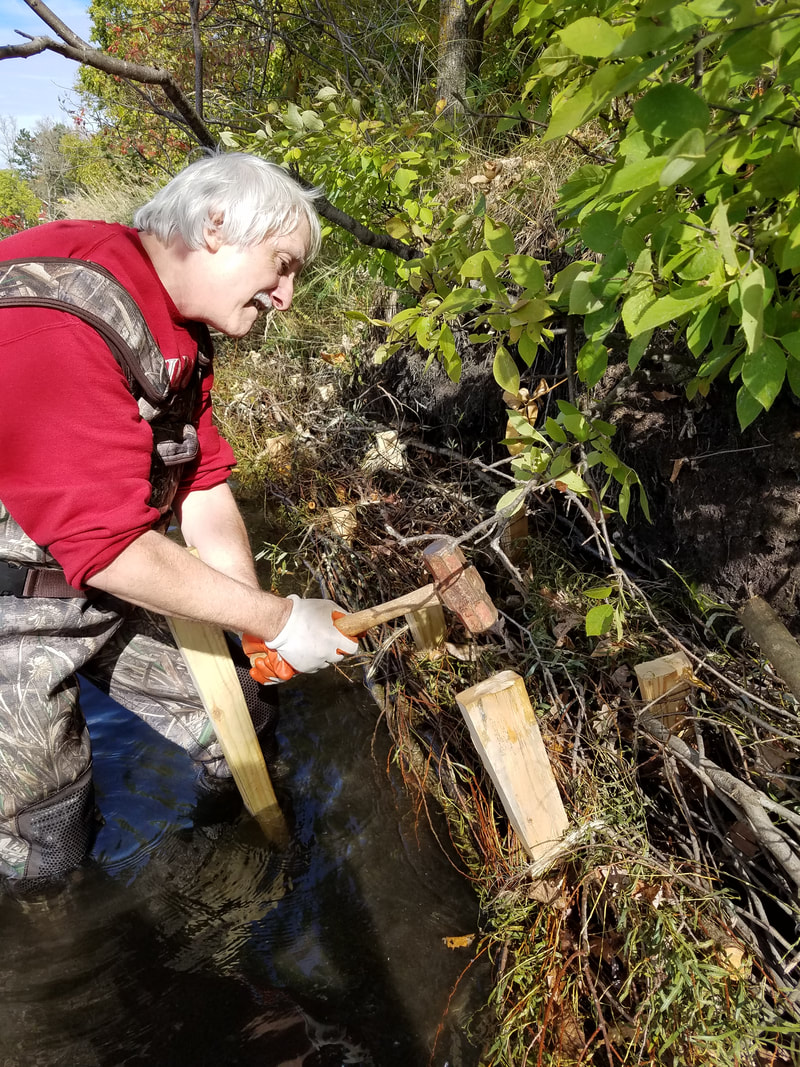
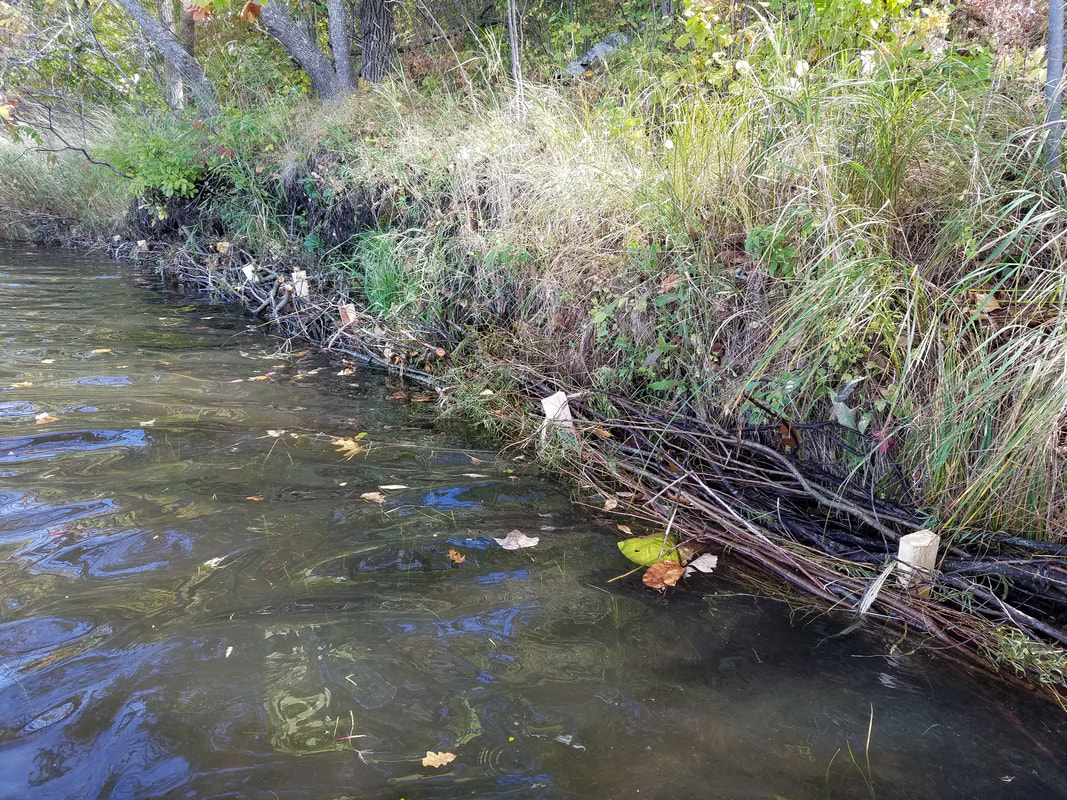
Snug the log into the shore and use the mallet to drive the stakes THROUGH the wattle into the ground.You should stake at every twine.Leave about 2 to 3 inches of stake above the wattle level.
Be prepared for buried rocks.They send shock waves through your arms! 3. Fill in behind the wattle with natural debris
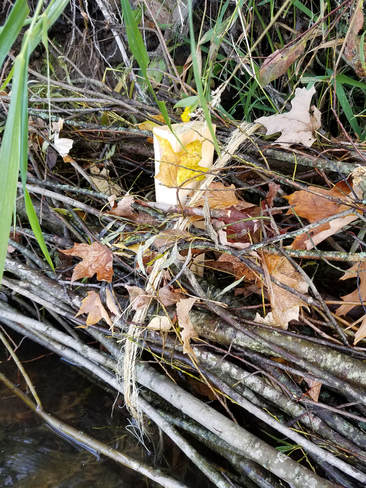
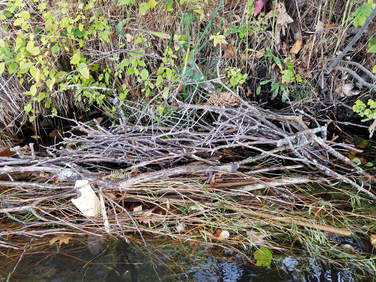
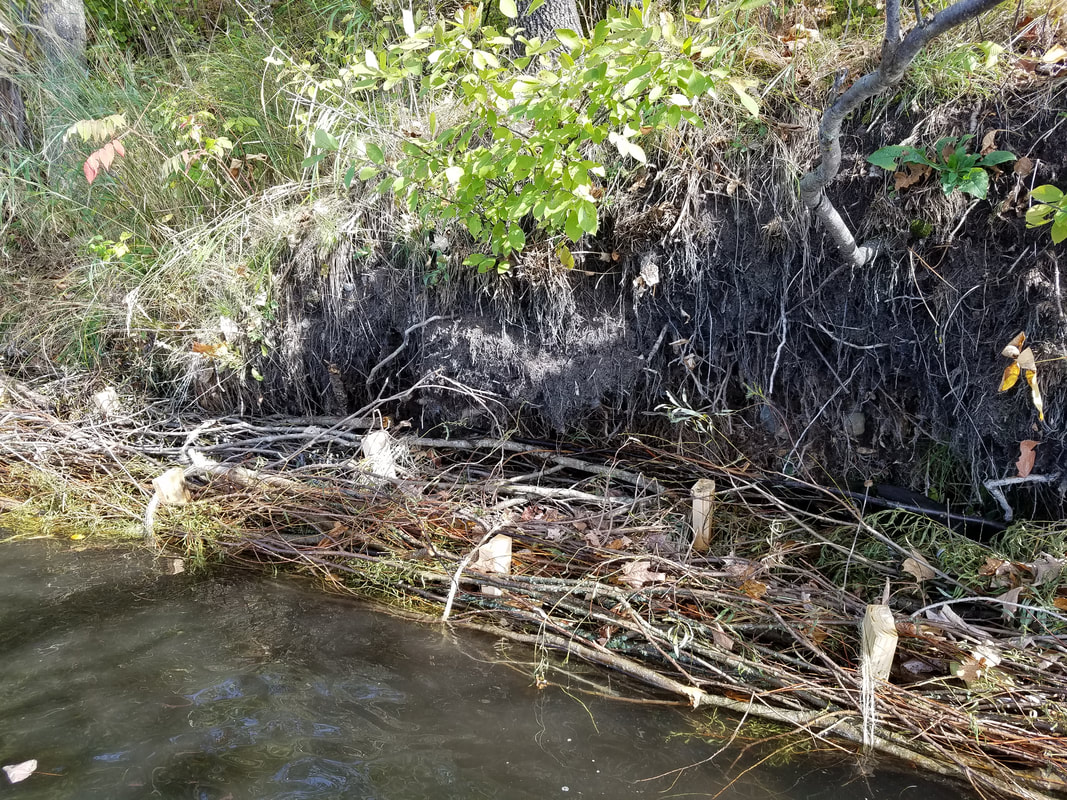
The nature of the shore will drive this next step.If the shoreline is undercut or curving, it is best to tuck branches, logs, rocks, etc., into the open spaces between your willow wattle and the shoreline.That is actually the whole point of willow wattle; building up soil behind the log.So giving it a little help in the more open areas will give you a leg up for next year.
4. Repeat until you are done, out of energy or out of wattle
Since we actually ended up with a few extra sections, we double rowed them in front of the worse eroded area.Then we crashed and burned.It was not “hard” work, but we pushed ourselves until it was done.And we were tired.
All photos by Kathy Peterson.
|

