Odds and Ends -
|
1. Measure the shoreline
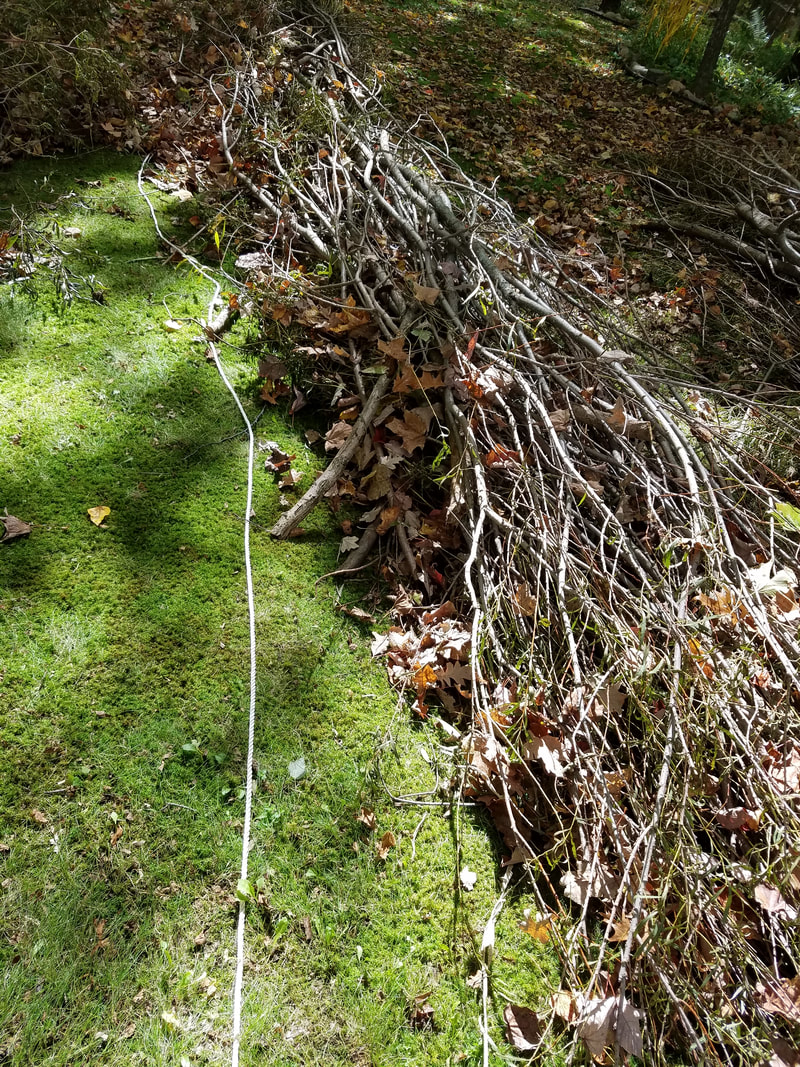
Measure roughly how much shoreline you intend to wattle.Bob and I took a long rope to the shore and measured using the rope.The actual length wasn’t important except to estimate how much willow you will need.
2. Get the Willow
You can cut your own.It grows in ditches by the side of the road and along natural shorelines.I actually contacted Crow Wing County Soil and Water in Brainerd.He told me he could get me permission to cut it in Kiwanis Park along the Mississippi.It is a nuisance plant and the county is always cutting it back.So if you have the time, energy and a truck & trailer you can get your supply for free.
Just ask the county where you can cut first . I took the lazy way out and hired a contractor to deliver enough willow to do about 100 feet of shore.This cost me about $200 and it was delivered to my driveway in a huge pile.As a rough estimate, I would say it was 2 to 3 trailer loads full of cut willow. |
3. Laying out the Piles
We laid out our measuring rope along a clear space as a guide to create our wattle sections.
Then we pulled from our mountain of willow in the driveway and started piling the wood into rows about 3 to 4 feet high and about 15 feet long beside our rope. We limited ourselves to 15 feet because we knew that there were only 2 of us to move the wattle to the water. You can make as long of sections as you think you can handle. As you pile the willow into logs, you want to interlace it so that the whole section will have both base branches and leaf tops intermixed.So put them top to bottom and offset them until you have a relatively uniform pile. The section ends should be a little more “branchy”That way you can jam 2 sections together in the water to form a longer more solid wattle on your shore. After we had all the sections we needed, we used the extra willow to top off the groupings.Since we still had extra, we made several extra sections. |
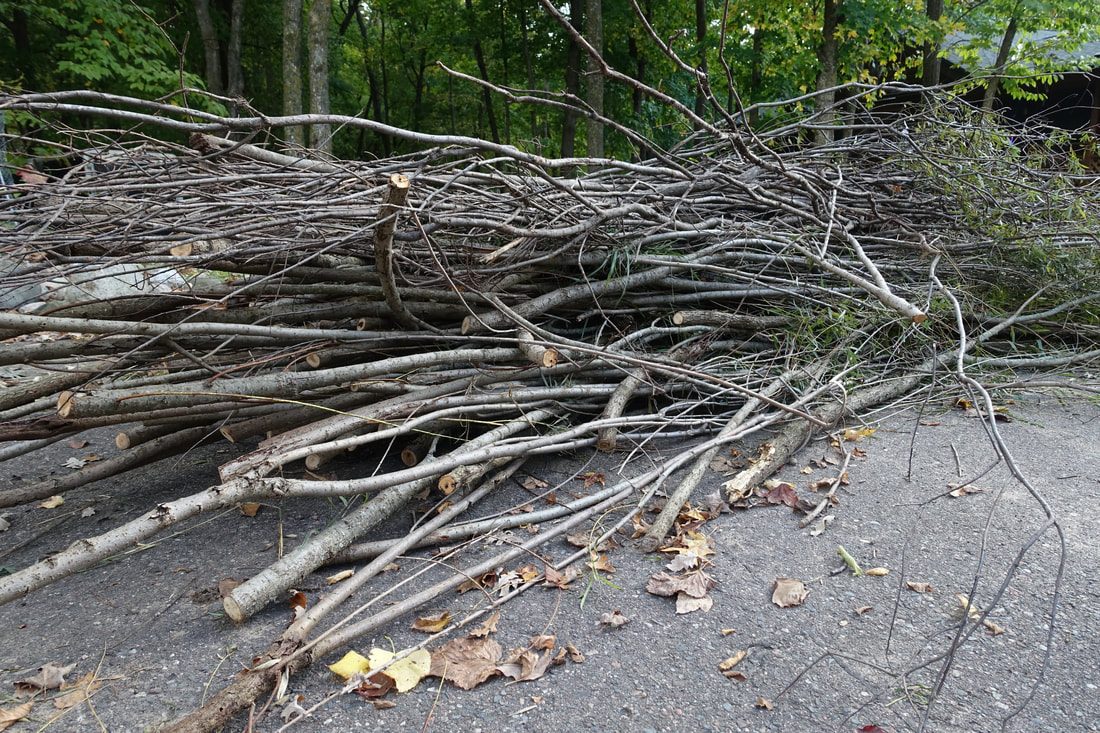
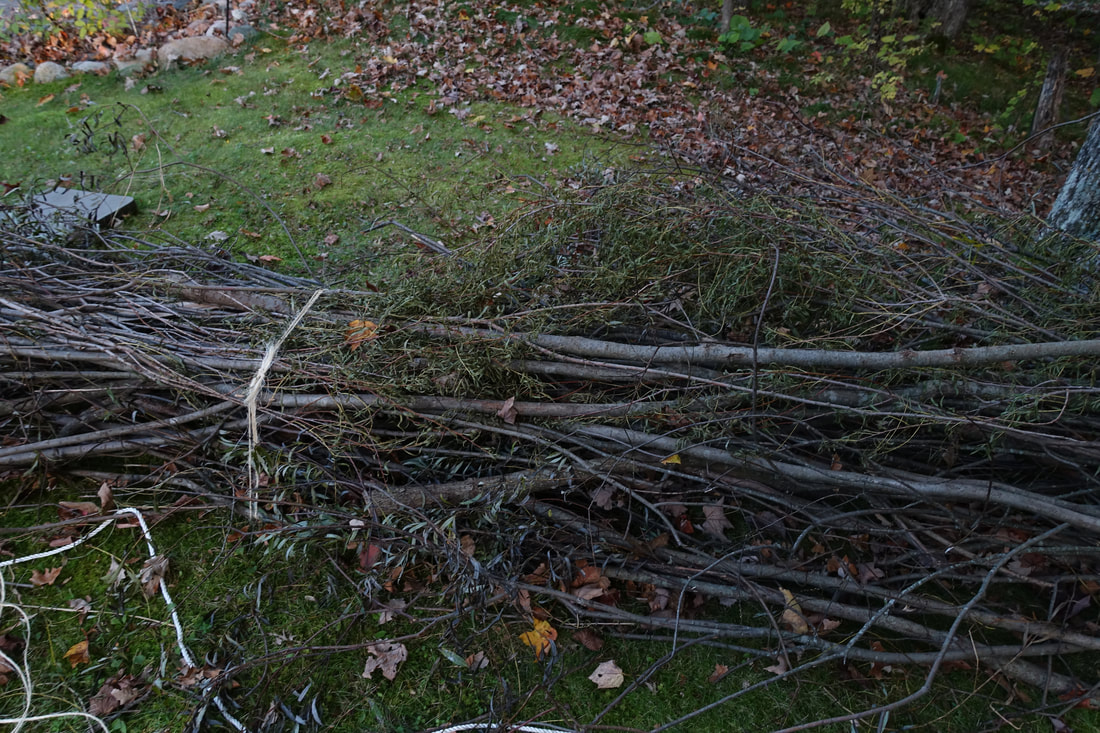
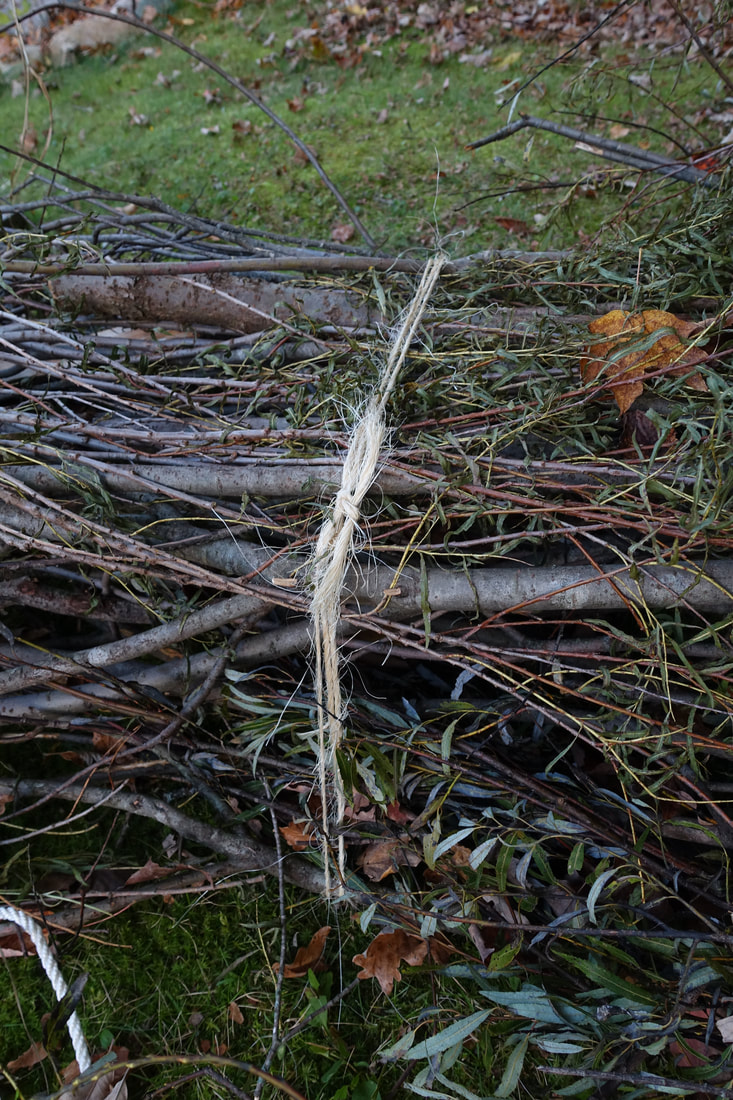
5. Tie the Piles into Wattle logs
|
To form the wattle log, you will tie the sections roughly every 3 feet.This process will snug the pile into a log.You want to make it tight and compact, with the final log about 2 or 3 feet in diameter.Again, this is not rocket science; no reason for a tape measure.
Cut multiple pieces of twine in roughly 3 yard sections using your spread arms as a guide.Then tie a loop in one end with a tail.This picture was early in our project.Later, as we perfected our technique, our loops got smaller and our tails got longer. The pain in the A. part is getting the twine under the log.After a few frustrating attempts where we got all scratched up, my handy husband went to the garage and made a “tool”. It is a simple thing really. He had a four-foot long flat metal rod that he drilled a hole into.(First attempt was blue duct tape). We fed the twine through the hole and pushed the rod all the way under the branches. Then it was a simple thing to unfeed it from the tool and pull it through the loop to tie.We did not pull the tool out.We left it there for the next go round. With the twine in hand, we squeezed the pile of brush and then using a ratchet type effect with the twine, we snugged the log up and then tied it off to the tail. We then re-fed the twine under the pile and repeated the process for about 3 circles around the log. Since it took a while to perfect our technique, we did not get as many tied off as we wanted before dark. We ended up finishing the tying the next day. The actual day of the install! |
All photos by Kathy Peterson.